How To Set Up VPN Windows 11 is easier than you may think. If you want to protect your privacy, hide your IP address, or stay safe on public Wi-Fi, you are in the right place.
Windows 11 already includes built-in VPN settings, and many trusted VPN providers, such as NordVPN, also offer simple apps that make setup even faster.
In this VPN setup guide, you will learn both methods with clear, step-by-step instructions.
You will see how to open the Windows 11 VPN settings, add a VPN connection, choose the right VPN protocol, and connect with confidence. You will have a secure connection that helps keep your internet traffic private wherever you go. Want more privacy on Windows 11? Here’s how to set up a VPN easily.
This guide walks you through two ways to install a dedicated VPN app (the method most beginners should use) and setting up a VPN connection manually through Windows 11’s built-in settings. You’ll understand exactly which option fits your situation and how to get connected safely.

What Is a VPN, and Why Use One on Windows 11?
A VPN (Virtual Private Network) encrypts your internet traffic and routes it through a secure server before it reaches its destination. Instead of your internet provider or a stranger on public Wi-Fi seeing your raw traffic, they only see an encrypted tunnel between your PC and the VPN server.
On Windows 11 specifically, a VPN is useful for:
- Protecting your data on public Wi-Fi: airports, cafes, hotels, and libraries are common targets for traffic snooping.
- Improving Windows 11 privacy: reducing what your internet provider and advertisers can see about your browsing habits.
- Accessing region-locked content or services: connecting through a server in another country.
- Securing remote work connections: many employers require a VPN to access internal systems.
Whatever your reason, the setup process itself is nearly identical, so let’s get into it.
What You’ll Need Before You Start: How Can You Set Up a VPN on Windows 11 in Minutes?
- A Windows 11 PC with an active internet connection
- An account with a VPN provider; a paid service is strongly recommended over free VPNs more on that below.
- Administrator access on your PC to install software
Method 1: Set Up a VPN Using a VPN App Recommended for Beginners.
This is the fastest and most reliable VPN setup guide path for most people. A VPN app handles server selection, encryption protocols, and automatic reconnection so you don’t have to configure anything manually.
Step 1: Choose a Reputable VPN Provider
Not all VPNs are equal. Free VPNs often log and sell your data, defeating the purpose of using one in the first place. For everyday privacy and security on Windows 11, a paid provider with a clear no-logs policy is worth the cost.
Generally recommend NordVPN for beginners because of its straightforward Windows app, strong encryption standards, and consistent server speeds. You can read our full breakdown in our NordVPN review.
Step 2: Download and Install the App
- Go to your VPN provider’s official website and sign up for an account.
- Download the Windows app from the provider’s site (avoid third-party download sites).
- Double-click the installer and follow the on-screen prompts.
- Sign in with the account credentials you created.
Step 3: Connect to a Server
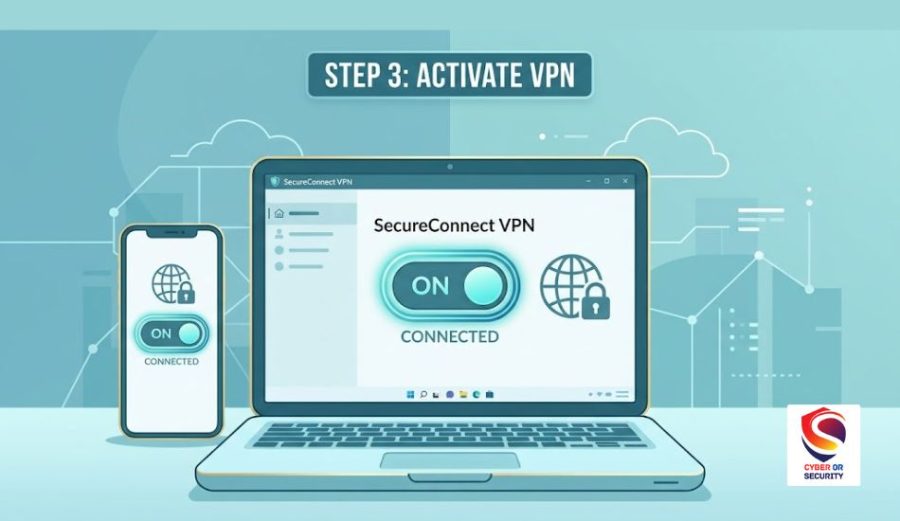
Once the app is installed and you’re signed in, you’ll usually see a large “Connect” button. Clicking it connects you to the fastest available server automatically. If you want to connect to a specific country or city, look for a server list or map view within the app and select a location before connecting.
Step 4: Confirm the VPN Is Working
After connecting, most apps show a status indicator (green checkmark, “Connected” label, or a timer). To double-check, search “what is my IP” in your browser before and after connecting. Your IP address should change once the VPN is active, confirming your traffic is routed through the VPN server.
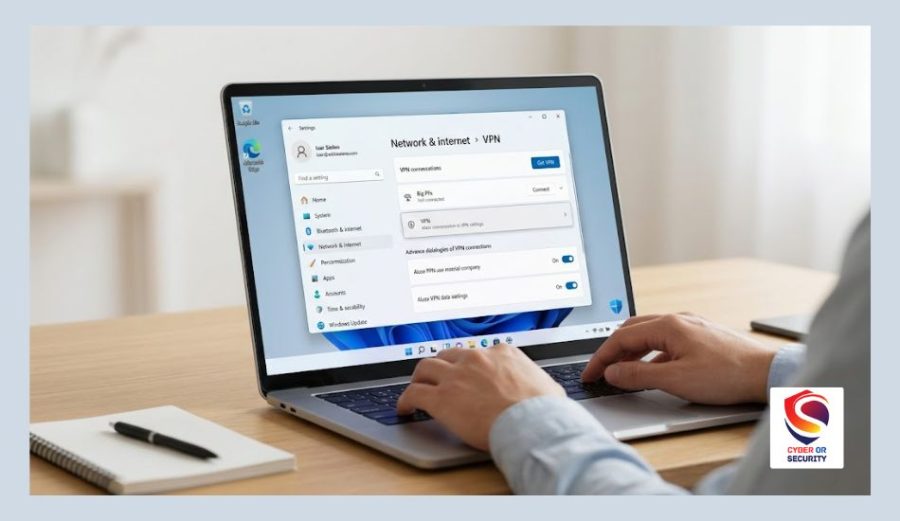
Method 2: Manual VPN Setup Using Windows 11’s Built-In Client
Windows 11 includes a native VPN client, but it’s important to understand what it actually does: it lets you connect to a VPN server, but it doesn’t provide the server itself. You’ll still need connection details from a VPN provider or your workplace IT department. This method is common for corporate VPNs or advanced users who prefer manual configuration.
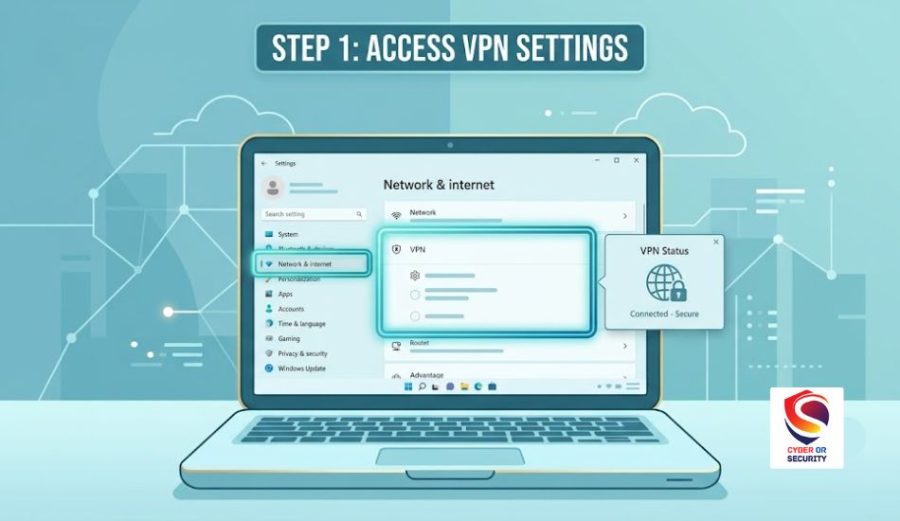
Step 1: Open VPN Settings
- Click the Start menu and open Settings.
- Select Network & Internet from the left sidebar.
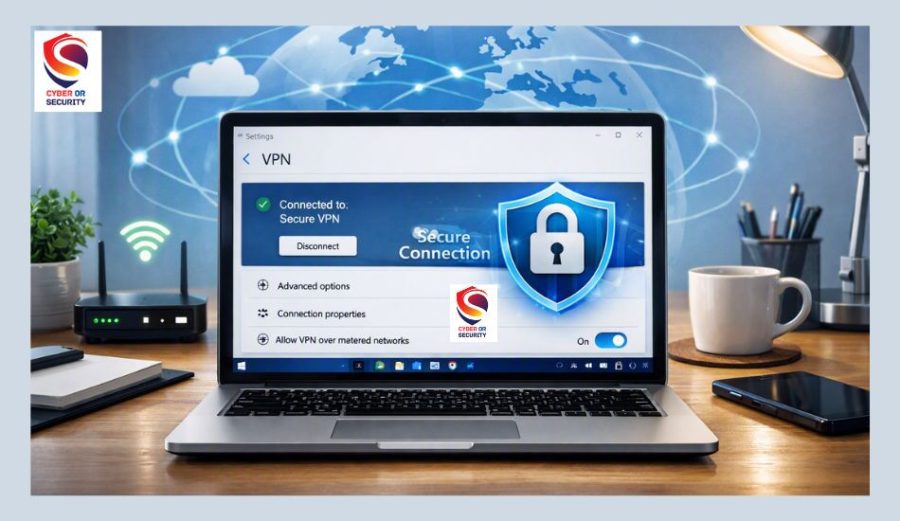
- Click VPN.
Step 2: Add a VPN Connection
- Click Add VPN.
- Under VPN provider, select Windows (built-in).
- Enter a Connection name (anything you’ll recognize later).
- Enter the Server name or address given by your VPN provider or IT department.
- Choose the correct VPN type (such as IKEv2, L2TP/IPsec, or PPTP) as specified by your provider.
- Select the Type of sign-in info (username and password, certificate, or smart card) and enter your credentials.
- Click Save.
Step 3: Connect
Back on the VPN settings page, click your new connection and select Connect. Windows will prompt for your credentials if they weren’t saved, then establish the tunnel. You’ll see a “Connected” status once it’s active.
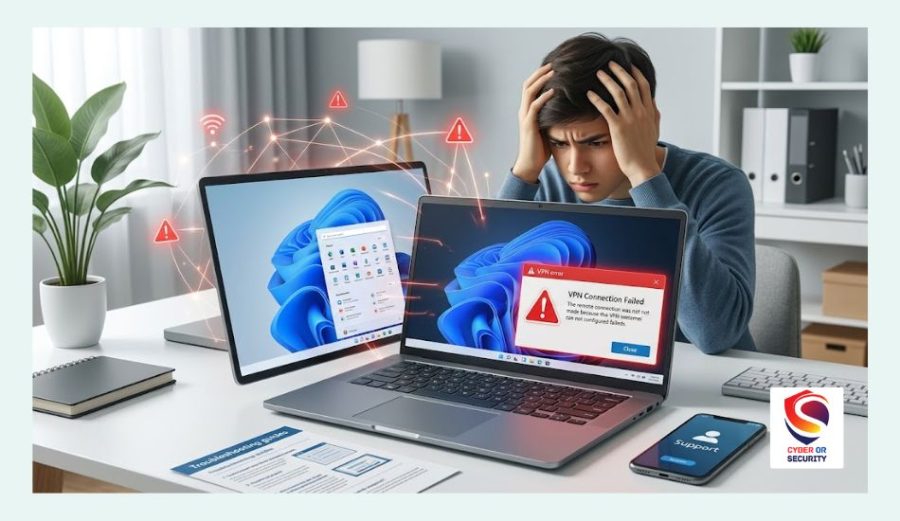
Troubleshooting Common VPN Issues on Windows 11
- VPN won’t connect: Double-check the server address and VPN type match exactly what your provider gave you. A single typo will cause a failed connection.
- Connection drops randomly: Try switching servers within your VPN app, or check whether Windows 11’s battery saver mode is limiting background network activity.
- Internet feels slower after connecting: This is normal to some degree since your traffic now travels through an extra server. Connecting to a server that’s geographically closer to you usually helps.
- Apps still show your old location: Some apps cache location data. Fully closing and reopening the app after connecting the VPN usually resolves this.

5 Most Common VPN Setup Problems
Sometimes, your VPN may not work the way you expect. The good news is that most problems are easy to fix. Try the tips below before contacting your VPN provider.
1. Can’t Connect to the VPN
If your VPN will not connect, check your internet connection first. Make sure you are online by opening a website in your browser. If your internet works, disconnect the VPN and try again. Restart your computer if the problem continues. You can also switch to another VPN server or update your VPN app to the latest version.
2. Wrong Password
A wrong username or password will stop the VPN from connecting. Check that you entered your sign-in details correctly. Passwords are case-sensitive, so watch for capital letters. If you forgot your password, reset it through your VPN provider’s website and then sign in again.
3. Wrong Server
Your VPN also needs the correct server address. If you are using the Windows 11 built-in VPN, make sure you copied the server name exactly as your VPN provider gave it to you. Even one missing letter can stop the connection. If you are using a VPN app, choose a different server from the list and try again.
4. VPN Keeps Disconnecting
A VPN may disconnect if your internet connection is weak or unstable. Move closer to your Wi-Fi router or switch to a stronger network. If the problem happens often, connect to a nearby VPN server because it is usually more stable. Updating your VPN app can also fix connection issues.
5. Slow VPN Speed
A VPN can sometimes slow down your internet, but it should not make browsing impossible. Try connecting to a server that is closer to your location. Choose a faster VPN protocol, such as WireGuard, if your provider offers it. Close apps or downloads that use a lot of bandwidth, and restart your VPN connection if speeds stay slow.
Quick Troubleshooting Checklist
If you’re still having trouble, go through this quick list:
- Make sure your internet connection is working.
- Check your VPN username and password.
- Confirm that the VPN server address is correct.
- Switch to another VPN server.
- Restart your VPN app or your Windows 11 PC.
- Update your VPN app to the latest version.
- Try a different VPN protocol, such as WireGuard or OpenVPN.
- Contact your VPN provider’s support team if the problem continues.
7 Tips for Better Windows 11 Privacy
A VPN is a great way to protect your privacy, but it works even better when you use it with a few smart habits. These simple tips can help keep your personal information safe every day.
1. Turn On Auto-Connect
Many VPN apps let you connect automatically when your computer starts or when you join a new Wi-Fi network. This means you do not have to remember to turn on your VPN each time.
If your VPN has this feature, enable it in the app settings for better protection.
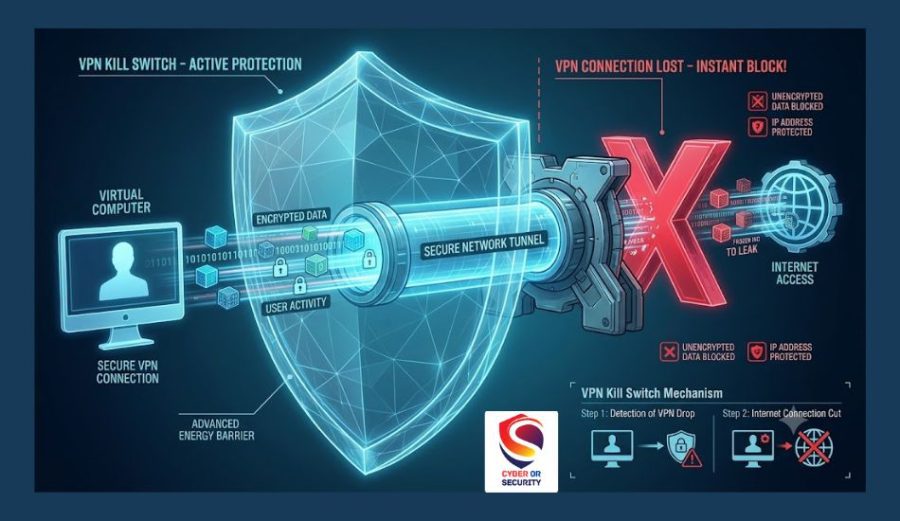
2. Use the Kill Switch
A kill switch keeps your data safe if your VPN connection suddenly drops. It blocks your internet until the VPN reconnects, so your real IP address is not exposed.
If your VPN provider offers a kill switch, turn it on before you browse.
3. Choose a Secure VPN Protocol
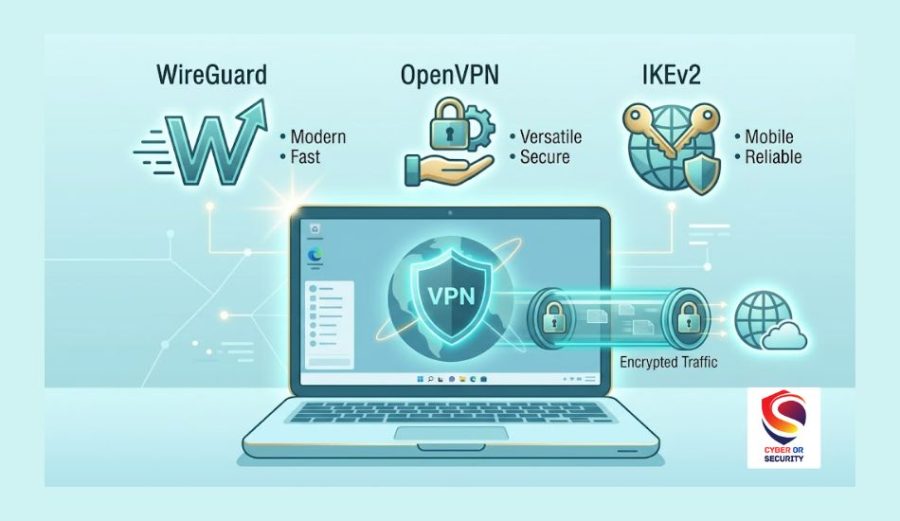
Most VPN apps let you choose a VPN protocol. If you are not sure which one to use, choose WireGuard if it is available. It is fast, secure, and works well for most people.
If WireGuard is not available, OpenVPN or IKEv2 are also trusted options.
4. Connect Before Using Public Wi-Fi
Free Wi-Fi at airports, hotels, coffee shops, and other public places is not always secure. Someone on the same network could try to see your online activity.
Before you open your browser or sign in to any account, connect to your VPN. This helps protect your data while you use public Wi-Fi.
5. Keep Windows 11 and Your VPN App Updated
Software updates fix bugs and improve security. They can also solve connection problems and make your VPN work better.
Turn on automatic updates for Windows 11 and install updates for your VPN app whenever they are available.
6. Use Strong Passwords and Two-Factor Authentication
Your VPN account protects your online privacy, so keep it secure. Use a strong, unique password that you do not use anywhere else.
If your VPN provider supports two-factor authentication (2FA), turn it on. It adds an extra layer of protection to your account.
7. Pick a Trusted VPN Provider
Not every VPN offers the same level of privacy. Choose a provider with strong encryption, a clear no-logs policy, and a good reputation for protecting user data.
If you are still looking for a VPN, read a NordVPN review to see its features, security tools, and whether it is the right choice for your needs.
Quick Privacy Checklist
Before you go online, make sure you:
- Connect to your VPN.
- Turn on the kill switch.
- Use a secure VPN protocol like WireGuard.
- Keep Windows 11 and your VPN app updated.
- Avoid using public Wi-Fi without VPN protection.
- Use a strong password and enable two-factor authentication.
Most helpful article: Best VPN for Cybersecurity Professionals in 2026.
Is It Safe and Legal to Use a VPN on Windows 11?
Yes. Using a VPN is legal in the United States and the large majority of countries, and it’s a standard tool used by individuals, remote workers, and businesses alike. The main safety consideration isn’t the VPN itself; it’s which provider you trust with your traffic. Stick to established providers with published privacy policies and avoid free VPNs that monetize your data.
Recommended for Beginners
If you want a VPN that’s easy to install, keeps working reliably in the background, and doesn’t require any manual configuration, NordVPN is one of the simplest options for Windows 11 users. Read the complete NordVPN review to see how it performs on speed, privacy, and price before you sign up.
Conclusion: How to Set Up a VPN on Windows 11: Step-by-Step?
Setting up a VPN on Windows 11 takes just a few minutes once you know where to look, and it’s one of the simplest upgrades you can make to your everyday online privacy. For most beginners, installing a dedicated app is the easiest and most reliable route, while the built-in Windows client is there when you need a manual or work-specific setup.
Whichever method you choose, the important part is picking a provider you trust. If you’re still deciding, our NordVPN review breaks down speed, pricing, and privacy so you can make an informed choice before you connect.
FAQs: How to Set Up a VPN on Windows 11 Without Any Confusion?
1. Is Windows 11 VPN Free?
Yes, Windows 11 includes a built-in VPN feature at no extra cost. However, it is only a tool for creating a VPN connection. It does not come with free VPN servers.
To use the built-in VPN, you need a VPN service that provides server details and login information. You can also install a VPN app, such as NordVPN, which handles the setup for you.
2. Is Manual VPN Setup Safe?
Yes, manual VPN setup is safe when you use a trusted VPN provider and enter the correct settings. Windows 11 supports secure VPN protocols that help protect your internet traffic. If you are new to VPNs, using your VPN provider’s app is usually easier because it sets everything up automatically and often includes extra security features.
3. Does Windows 11 have a built-in VPN?
Windows 11 has a built-in VPN client that lets you manually add a connection, but it does not include VPN servers of its own. You still need a VPN service to supply the server and encryption.
4. Is it better to use a VPN app or the Windows VPN settings?
For most beginners, a dedicated VPN app is easier because it handles server selection, encryption, and updates automatically. The manual Windows method is more suited to corporate VPNs or specific technical setups.
5. Is using a VPN on Windows 11 legal?
Yes, using a VPN is legal in the United States and most countries. It’s a standard privacy and security tool used by individuals and businesses.
6. Will a VPN slow down my Windows 11 PC?
A VPN can slightly reduce internet speed due to encryption and server distance, but a reliable provider with nearby servers usually keeps that slowdown minimal for everyday browsing.
7. Which VPN Protocol Is Best?
For most people, WireGuard is the best choice. It offers fast speeds, strong security, and reliable performance. If WireGuard is not available, OpenVPN is another excellent option because it is secure and widely supported. IKEv2 also works well, especially if you switch between Wi-Fi and mobile hotspots.
8. Can I Use a VPN All the Time?
Yes. Many people keep their VPN connected whenever they use the internet. This helps protect their privacy, hide their IP address, and secure their data on public Wi-Fi. If you stream videos or play online games, you may sometimes disconnect the VPN for the fastest possible speeds. For everyday browsing, online banking, shopping, and working from home, keeping your VPN on is a smart choice.